Interactive web mapping with Django and Google Earth Engine
Published on May 03, 2020 | Bikesh Bade | 11582 Views
There are several ways to use GEE and each one has its advantages and disadvantages. In this example, GEE is used for web mapping with python Django. Django is a fully-featured Python web framework that can be used to build complex web applications. There are endless web development frameworks out there, so why should you learn Django over any of the others? First of all, it’s written in Python, one of the most readable and beginner-friendly programming languages out there. The second reason Google Earth engine provides the Python API. The first step will be to set up Django:
Get Started With Django and continue following
To infuse the Django using Google Earth Engine Python API, first, you have to set up a python environment on your local computer.
Set up Python API for GEE and continue following
Next requirement will be Python Module Folium for Mapping, you have to set and get used to with the folium
Beginner guide to python Folium module to integrate google earth engine and continue following
Create the first Django project
django-admin startproject DjangoGEE
This will create a new directory DjangoGEE. If you cd into this new directory, you’ll see another directory called DjangoGEE and a file called manage.py. Your directory structure should look something like this:
 DjangoGEE/
    ├── DjangoGEE/
    │   ├── __init__.py
    │   ├── settings.py
    │   ├── urls.py
    │   └── wsgi.py
    │
    └── manage.py
Once your file structure is set up, Create a Django Application. To create the app, run the following command:
python manage.py startapp gee
This will create another directory called gee with several files:
__init__.pytells Python to treat the directory as a Python package.admin.pycontains settings for the Django admin pages.apps.pycontains settings for the application configuration.models.pycontains a series of classes that Django’s ORM converts to database tables.tests.pycontains test classes.views.pycontains functions and classes that handle what data is displayed in the HTML templates.
Once you’ve created the app, you need to install it in your project. In DjangoGEE/settings.py, add the following line of code under INSTALLED_APPS:
INSTALLED_APPS = [
    'django.contrib.admin',
    'django.contrib.auth',
    'django.contrib.contenttypes',
    'django.contrib.sessions',
    'django.contrib.messages',
    'django.contrib.staticfiles',
    'gee',
]
That line of code means that your project now knows that the app you just created exists. The next Step is to create a view. Views in Django are a collection of functions or classes inside the views.py file in your app directory. Each function or class handles the logic that gets processed each time a different URL is visited.Navigate to the views.py file in the gee directory. There’s already a line of code in there that imports render(). Add the following code:
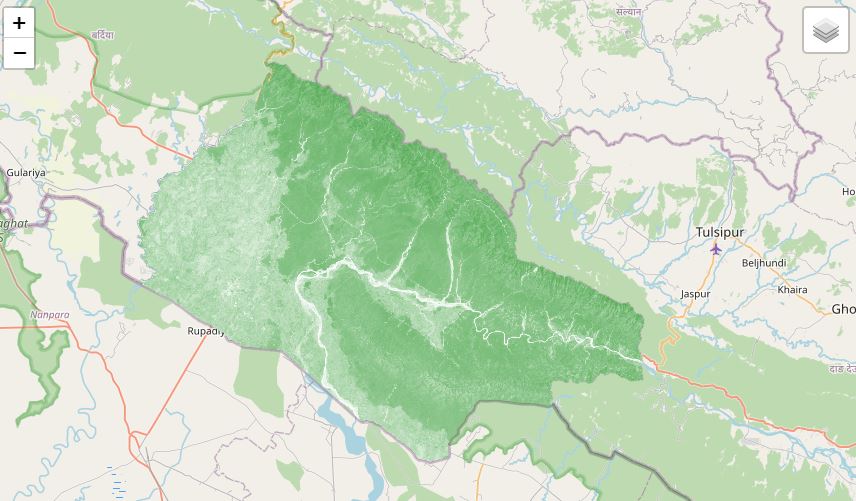
from django.shortcuts import render

# generic base view
from django.views.generic import TemplateView


#folium
import folium
from folium import plugins


#gee
import ee

ee.Initialize()


#home
class home(TemplateView):
    template_name = 'index.html'

    # Define a method for displaying Earth Engine image tiles on a folium map.
    def get_context_data(self, **kwargs):

        figure = folium.Figure()

        #create Folium Object
        m = folium.Map(
            location=[28.5973518, 83.54495724],
            zoom_start=8
        )

        #add map to figure
        m.add_to(figure)


        #select the Dataset Here's used the MODIS data
        dataset = (ee.ImageCollection('MODIS/006/MOD13Q1')
                  .filter(ee.Filter.date('2019-07-01', '2019-11-30'))
                  .first())
        modisndvi = dataset.select('NDVI')

        #Styling
        vis_paramsNDVI = {
            'min': 0,
            'max': 9000,
            'palette': [ 'FE8374', 'C0E5DE', '3A837C','034B48',]}


        #add the map to the the folium map
        map_id_dict = ee.Image(modisndvi).getMapId(vis_paramsNDVI)

        #GEE raster data to TileLayer
        folium.raster_layers.TileLayer(
                    tiles = map_id_dict['tile_fetcher'].url_format,
                    attr = 'Google Earth Engine',
                    name = 'NDVI',
                    overlay = True,
                    control = True
                    ).add_to(m)


        #add Layer control
        m.add_child(folium.LayerControl())

        #figure
        figure.render()

        #return map
        return {"map": figure}
In this piece of code, we have defined a view function called home(). When this function is called, it will render an HTML file called index.html. Now that we have created the view function, we need to create the HTML template to display to the user. render() looks for HTML templates inside a directory called templates inside your app directory. Create that directory and subsequently a file named index.html inside it:
gee/templates/index.html
Add the following lines of HTML to your file:
<html> <head> <title>Django and GEE</title> {{ map.header.render|safe }} </head> <body> <div class="row"> <div class="col-lg-12"> {{map.html.render|safe}} </div> </div> <script>{{ map.script.render|safe }}</script> </body>
Now setup the URL, when you run the server and visit localhost:8000, you should be able to see the HTML template you created:
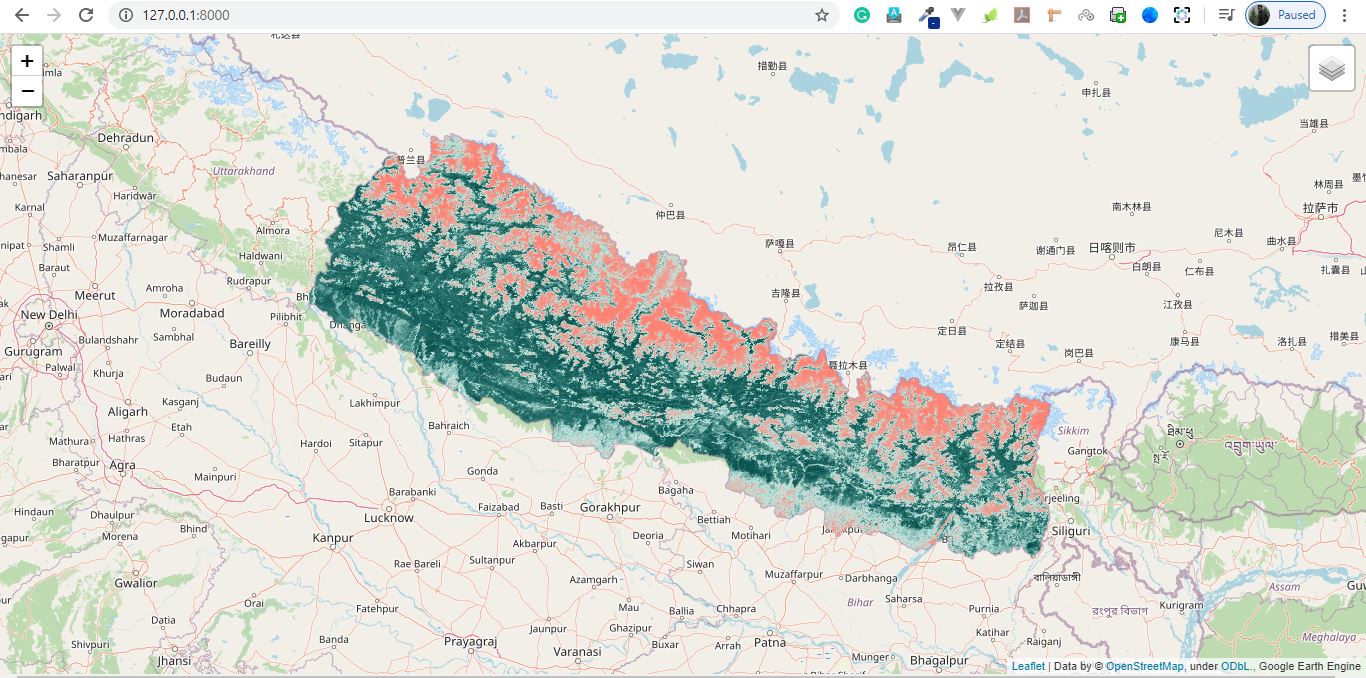
Congratulations! You’ve created your Django app and hooked it up to your GEE. Get all the code in the GitHub
Responses

Joseph Thuha
I did the same in Ubuntu and it worked, but after migrating the project to windows, I got an error module 'ee' has no attribute Initialize()
- Aug 31, 2020 |
Admin
Dear Joseph, Please go through this link for windows setup for GEE https://bikeshbade.com.np/tutorials/Detail/?title=Introduction%20to%20the%20Google%20Earth%20Engine%20Python%20API&code=10
- Sep 04, 2020 |
DeepS
Thank you very much for this post. Your blog is great and is helping me immensely. I have a Javascript GEE code with a lot of UI. I need to make a web App. Should I include the UI (ipywidgets+geeMap) in views.py? I am an absolute beginner to both GEE, Python API and Python Web Apps. Could you please give me a workflow for how to go about it? I would be very grateful. Thanks.
- Dec 29, 2020 |
Admin
Thanks for making use of my blog. About your questions, geeMap is a new python module that is based on the GEE python API. I won't suggest geemap for a web application as it's more like a notebook focus and has less flexibility. when you have a GEE core python API that is more flexible why use a secondary package. For a web application, I would prefer Django+ GEE API +(ipywidgets or folium)+ Postgres +posgis.
- Jan 14, 2021 |
collins
How do i link gee to postgress database of the django project
- Jul 07, 2021 |
Admin
Collins, linking Postgres in the Django project with GEE is quite similar to liking Postgres in Django. Just need to change the database in setting.py. are you thinking to link GEE imagery to postgres?
- Jul 15, 2021 |
navid
Hello, Your site and your post are really amazing. I want to integrate GEE and Django rest api to implement the back-end of an app. I don't know how to do this.Would please give me some hints and pictures of the way
- Sep 03, 2022 |
chris
Hi navid, am looking for something similar to your implementation. any progress?
- Nov 26, 2022 |